who was always loosing the backs to her earring
because she'd set them on her nightstand
or bathroom counter when she took them off.
I don't know if it helped or not
but she hasn't complained about lost earrings for awhile now.
Earring Box
by Pam Black (June 2012)

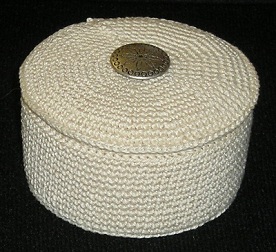
It started with the frosting container from
a package of refrigerated cinnamon rolls
(the larger package -
5 big cinnamon rolls)
and it became a cute little box.
This pattern is actually more of a guideline then an actual pattern.
I used Size 10 cotton thead and a Sz 7 hook.
I made an outside and inside cover for the container.
Gauge: approximately 9 rows per inch and 8 sc per inch
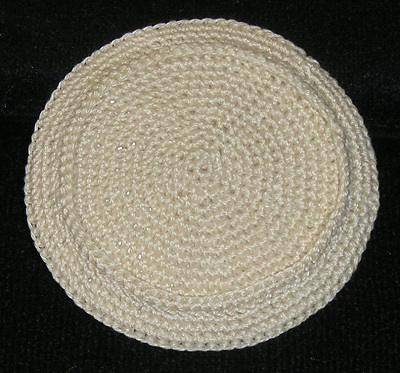
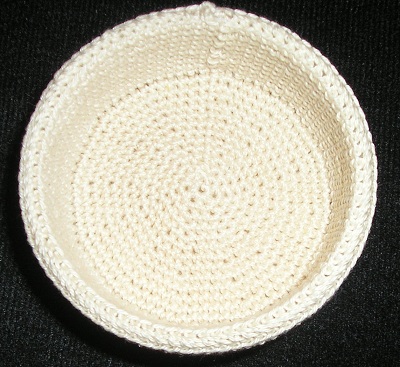
The bottom of the container is a basic circle.
Rnd 1: The fist round is 6 sc. I used the magic circle
but you can also ch 2 and do 6 sc in the second chain from the hook
Join in first sc and ch 1. Do not turn you work.
Note: I did not use the continuous round because I did not want the little step that
happens at the finish
Rnd 2: 2 sc in each sc, join in first sc and ch 1 (12 sc)
Rnd 3: Sc in same st as join, 2 sc in next sc, (sc in next sc, 2 sc in next sc) repeat to end,
join in first sc and ch 1 (18 sc)
Rnd 4: Sc in same st as join, sc in next sc, 2 sc in next sc, (sc in next 2 sc, 2 sc in next sc)
repeat to end, join in first sc and ch 1. (24 sc)
Rnd 5: Sc in same st as join, sc in next 2 sc, 2 sc in next sc, (sc in next 3 sc, 2 sc in next sc)
repeat to end, join in the first sc and ch 1. (30 sc)
Continue in the same manner, increasing 6 sc in each round.
Rnd 6: ..... sc in 4, 2 sc in next sc ..... (36 sc)
Rnd 7: ..... sc in 5, 2 sc in next sc ..... (42 sc)
Rnd 8: ..... sc in 6, 2 sc in next sc ..... (48 sc)
Rnd 9: ..... sc in 7, 2 sc in next sc ---- (54 sc)
Rnd 10: ... sc in 8, 2 sc in next sc ..... (60 sc)
Rnd 11: ... sc in 9, 2 sc in next sc ..... (66 sc)
Rnd 12: ... sc in 10, 2 sc in next sc ... (72 sc)
Rnd 13: ... sc in 11, 2 sc in next sc ... (78 sc)
Rnd 14: ... sc in 12, 2 sc in next sc ... (84 sc)
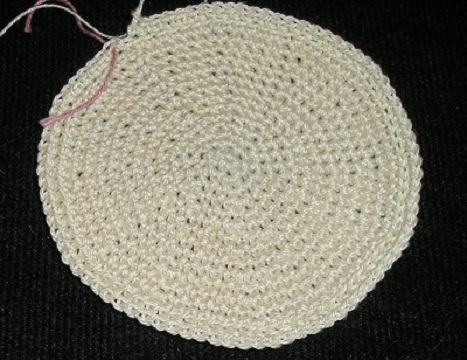
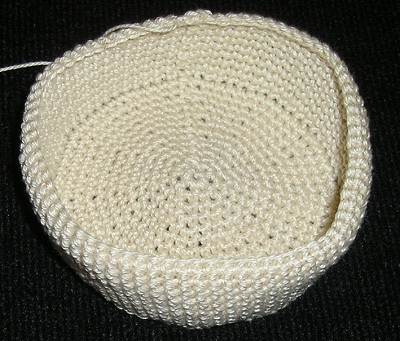
14 rounds covered the bottom of my container nicely,
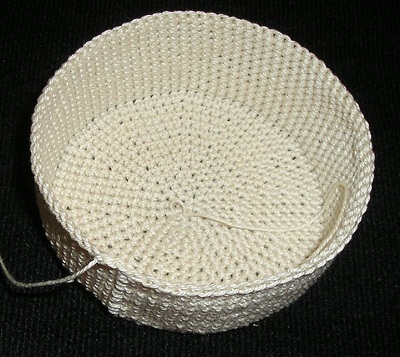
at this point I began the side.
Rnd 15: Join as before, then sc in the back loop only of each sc. (84 sc)
Rnd 17 thru 26: Join as before, then sc in both loops of each sc. (84 sc)
Fasten off.
Remember this is just a guideline. Compare your crochet piece periodically to the container
you are covering and increase or decrease rounds so that the crochet piece covers the
container neatly.
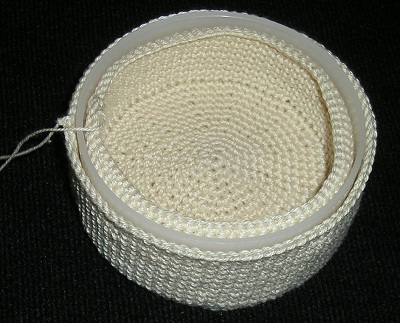
The inside of the container is worked the same as the
outside.
The bottom is Rnd 1 thru 13. (78 sc)
Rnd 14: Working in front loops only,
sc in each sc. (78 sc)
Rnd 15 thru 22: Sc in each sc. (78 sc)
Fasten off.
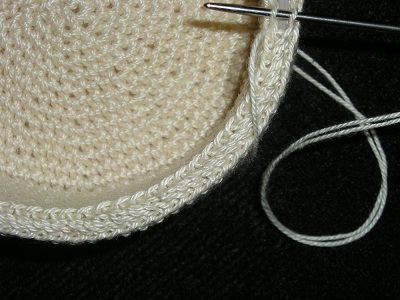
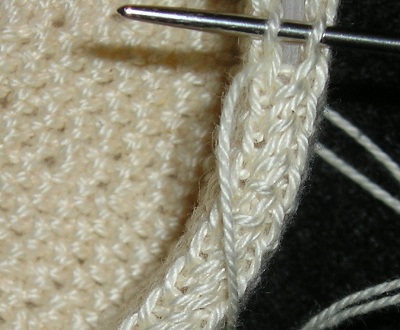
Sew the pieces together using Sz 10 thread.
Draw the thread through one loop on a sc on the
outside piece and through one loop on a sc on the
adjacent sc on the inside piece.
Next,
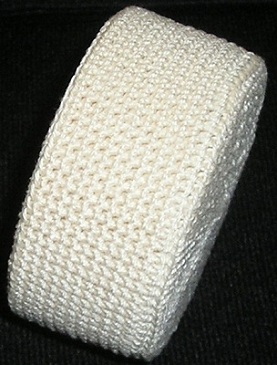
the lid.
The lid is done just
like
the bottom of the container
Make 2
Rows 1 thru 14 are the same (6 sc to 84 sc)
Row 15: ... sc in 13, 2 sc in next sc ... (90 sc)
Fasten off.
Single crochet the edges of the two circles together.
About halfway through insert the lid to the container
between the two circles then continue to single
crochet the edges together to the end. (90 sc)
After the fact, I decided I wanted an edge on the bottom
side of the lid that would fit inside the container and
hold
the lid in place. I did a single crochet around the
stitches at about row 13 or 14. Then I did a second
row in the stitches I had just made.
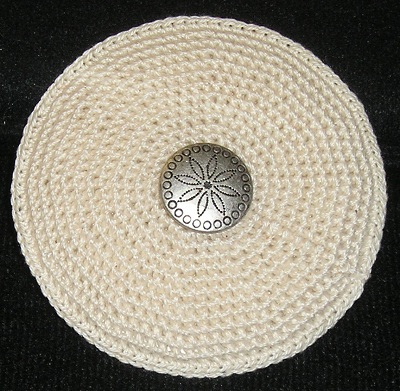
Finally I sewed a nice button on the top of the lid.